6.30.2014
flea finds: accessories
I go to a lot of flea markets, yard sales, and thrift stores with my mom. She goes to gather inventory for the stores she sells at. Normally, I look for housewares: dishes and glasses, artwork, knick-knacks, etc. This week, I actually only found accessories. I got two bracelets, two necklaces, a ring, and two belts. The woman I bought the glass bead necklace from said it is Czechoslovakian glass from the 1930s. I don't know if that's true, but I love it!
6.27.2014
friday inspirations
 |
| via ravelry |
Bavarian crochet is so beautiful. I like this color combination as well. I'm usually not drawn to pink, but this reminds me of a rose garden.
 |
| via etsy |
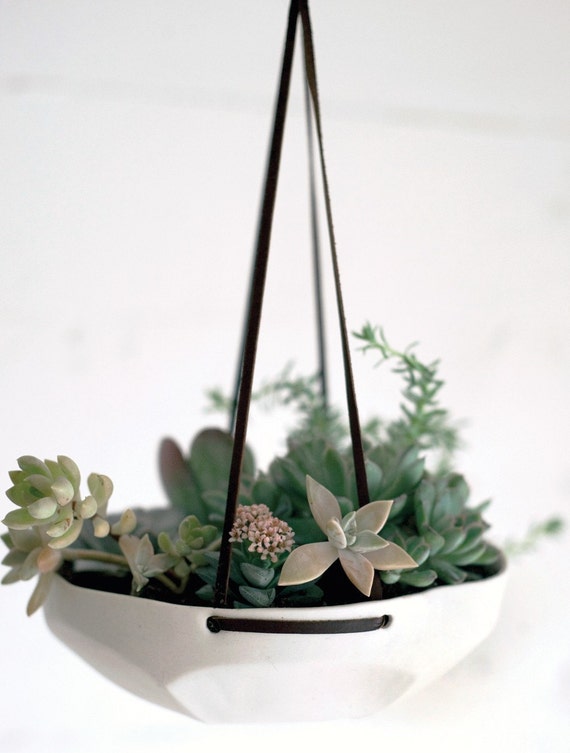
I really like hanging planters, and I think they would be pretty simple to make. Perhaps I will start experimenting.
 |
| via etsy |
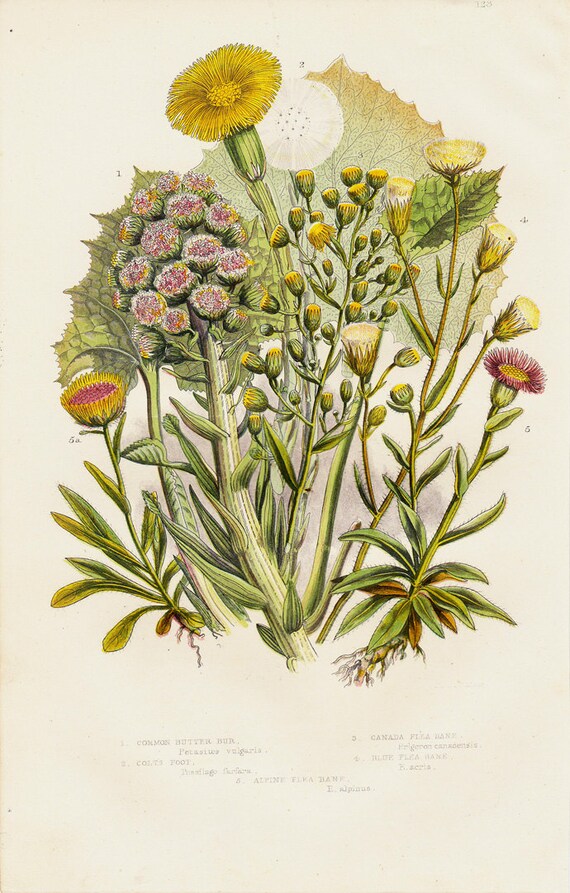
Botanical prints are one of my favorite things to decorate with. I always cheer up when I look at them. This one would look lovely with the rest of my collection.
 |
| via the purl bee |
I really want to learn how to quilt. One like this might be a good way to start, especially if the stripes are wider.
Happy Friday!
6.25.2014
painted terracotta pots
When looking for ways to decorate my patio, I found a stack of old terracotta pots in the garage. They were not in the best shape, so I decided to paint them. I wanted to keep some of the terracotta showing, so I painted the bottoms of some and the rims of others.
Supplies:
- terracotta pots
- outdoor or interior/exterior spray paint
- painters tape
- newspaper
First, clean the pots to get any loose dirt off. Tape the part of the pot you don't want to paint. You can use newspaper to help cover larger areas.
Next, spray paint your pots. When painting the bottom of the pots, I turned them upside down on a piece of cardboard. I also found that the pots I painted the rims of looked better if the inside was painted as well. My gold paint wasn't for outdoor use, so I used an exterior lacquer on top to help prevent it from chipping and getting spotty in the rain.
You can use the pots as they were meant to be used (as planters), or you can fill them with sand or gravel and use them for candles. If you do fill them with sand, it is a good idea to line the bottom with plastic so nothing leaks out of the hole.
6.23.2014
garden update
Everything in the garden is growing wonderfully (except my dill... is anyone else having dill problems?). The cauliflower is growing so quickly, it's putting the other plants to shame. My cilantro is also looking really nice. I've never had luck with it before - it never got very big and I was barely able to cut any to use. But this year it looks great!
This year, I'm also growing Roma tomatoes, which I never have before. I'm hoping to get a whole bunch so I can make sauce for the winter. Homemade tomato sauce is so delicious, and I will post my recipe when the tomatoes ripen!
6.20.2014
firday inspirations
 |
| via lucky pony |
 |
| via gardenista |
This window display is lovely. I'm really bad at floral arrangements, but different vases full of the same flowers is something I could handle. I also like the look the different heights and textures give.
 |
| via the purl bee |
I want to make this right now! The linen would be perfect for warmer weather, but you could also use heavier fabrics to make a warmer wrap.
 |
| via a sweet spoonful |
I don't really like sweets, so cake is something I rarely make. This buttery honey almond cake, however, looks delicious. I may have to make it this weekend.
Happy Friday!
6.18.2014
diy: stella&dot inspired bracelet
I absolutely love the Renegade bracelet from Stella & Dot. While browsing Etsy one day, I came across these beads, and knew I could make a similar bracelet with them. This is a really simple project. All you need is the beads, jewelry elastic, and a crimp bead.
Measure enough elastic to fit your wrist, plus an additional three to four inches. String the beads on, and thread the two ends through a crimp bead.
Crimp close, then thread the leftover elastic through the beads.
There you go! A cute bracelet made in under 10 minutes for less than $10.
6.16.2014
copper garden signs
Supplies:
- copper sheeting
- clay carving tools (I use this, this, and this)
- piece of rubber (or any soft material you can carve into)
- wire
Begin by cutting out a piece of copper a little bigger than you want your sign. Use the smaller stylus to write the words on the copper. Then, trace them with the larger stylus. You can begin with the larger one to avoid going over it twice, but I think it is easier to start with the small one.
Turn the sign over, and use the clean-up tool to raise the copper around the words. This will make the words stand out more. I like to start around the letters and work my way out.
Once finished, bend the edges of the sign around so that it is more curved. Poke a hole in each corner.
Use the wire to attach the signs. I put mine on the fence, but you can also put them on tomato cages, stakes, or whatever else is in the garden. Another option is to write the words vertically and stake the signs in the ground.
6.13.2014
friday inspirations
 |
| via sf girl by bay |
 |
| via asos |
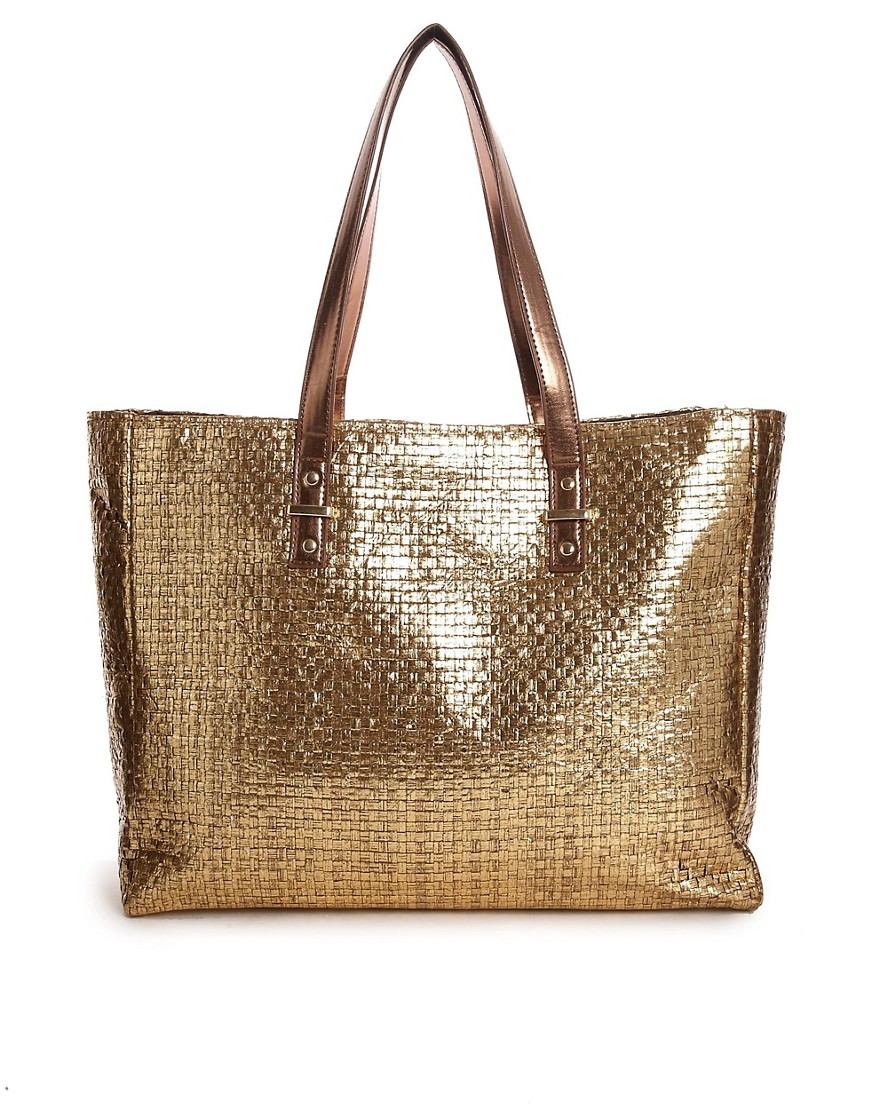
I love this metallic straw bag. It would be perfect for the beach. I'm thinking of making a similar one with some metallic oil cloth.
 |
| via viva terra |
Can you believe this indoor/outdoor rug is made of plastic bottles?? It is beautiful, and would look lovely on a porch with Moroccan style lanterns.
 |
| via viva terra |
In my spare time, I love imagining designs for my future house. These shelves would look great in the black and white bathroom I keep thinking about...
Happy Friday!
6.11.2014
diy: spike necklace
This is a simple DIY for a long necklace with spiked beads. I bought all of the supplies at Beadworks, though Etsy has huge variety of beads and supplies for jewelry making. You can make it as long as you like. I made two, one long and one short, that can be layered or worn separately.
Supplies:
- chain (I used about 28 inches for the long one)
- 3 jump rings (use whichever size you like the looks of)
- lobster clasp
- spiked beads
- pliers (round nose and flat nose)
First, string the beads onto the length of chain you want. Open the jump rings with the pliers and put one on each end of the chain. Add your last jump ring to one end and your lobster clasp to the other, then close the jump rings. I use two smaller rings for the ends of the chain, and a larger one for the other side of the clasp (as shown below).
6.09.2014
metal chair re-do
I found these chairs behind my parents' shed. Not only are they too beautiful to lay rusting away, but they also belonged to my grandparents. Once my patio was complete, I brought these out to try and bring them back to life.
They were not in very good shape, covered in rust and peeling paint. Before painting, they needed to be sanded to get as much of the rust off as possible and to smooth out the surface. This process can be done with most metal outdoor furniture.
(Please note: Anything painted before 1978 could contain lead. Please take precaution, as sanding lead paint is not recommended.)
On one chair, I was able to use the wire brushes and sand by hand. It wasn't perfectly smooth, but it still came out well. The other chair was so rusty that I had to use a palm sander.
Once smoothed, I used Rust-Oleum primer to prime the chairs. You can get a spray primer, but I wanted a heavier coating than what you can achieve with the spray. If you are working with furniture that has less rust, the spray should be sufficient.
I used this spray paint. The chairs needed two coats. I found it easiest to do both coats on the top first and then turn the chairs over to do the bottom. Once dry, I used an outdoor spray lacquer to help protect them.
Finished! They are not perfectly smooth, but compared to what they looked like before, I think they look great.
Subscribe to:
Posts (Atom)


.JPG)
.JPG)
.JPG)
.JPG)
.JPG)
.JPG)


.JPG)


